How to take quick screenshots in windows 10
Taking a screenshot of the computer screen is very useful nowadays for sharing information with others. Today we are gonna discuss the number of ways to take screenshots in Windows 10. Starting off with the first method and the easiest and commonly used way to take screenshots.
1. Snip & Sketch
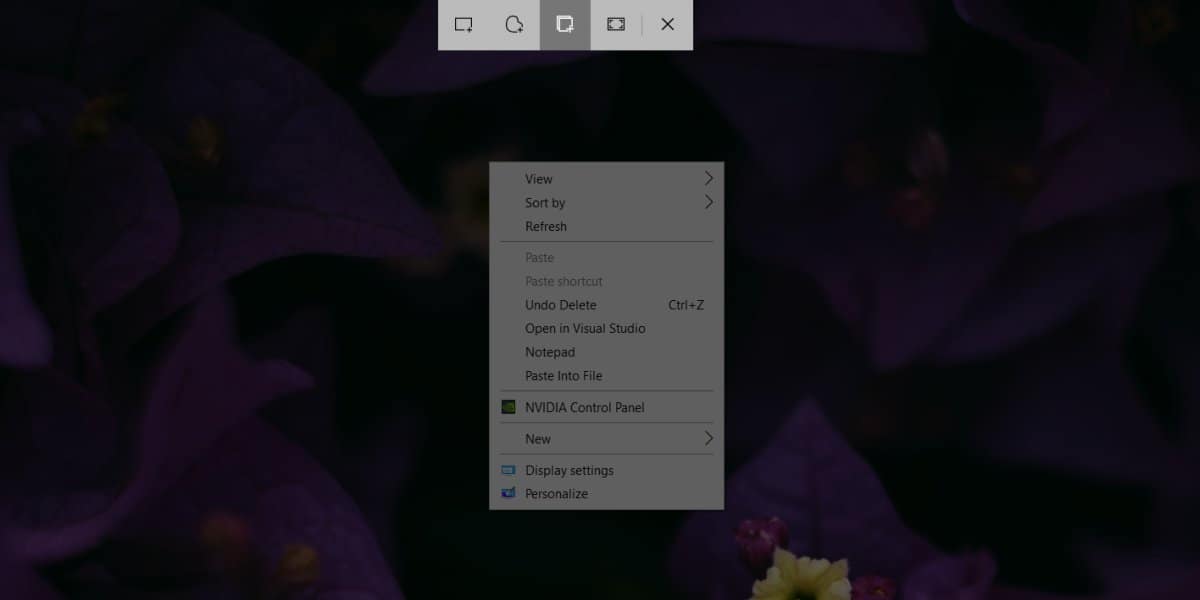
This tool is really very helpful. Microsoft has released the new screenshot tool or we can say up-gradation to Snipping tool called "Snip & Sketch". This tool is best to take a quick screenshot.
To use Snip & Sketch, open start and search from "Snip" and select Snip & Sketch or you can use the shortcut key Window Key + Shift + S. You can quickly snip by clicking on New at the top-left corner. There are multiple features that come with this tool like - -Rectangular Snip, Freeform snip, Window Snip, or FullScreen Snip. Choose the option as per your requirement and start taking screenshots. After taking a screenshot you can edit, save or share it directly over the mail.
Note: You can also take a look at this Free Software for recording Screens. RecordCast.
2. Snipping Tool
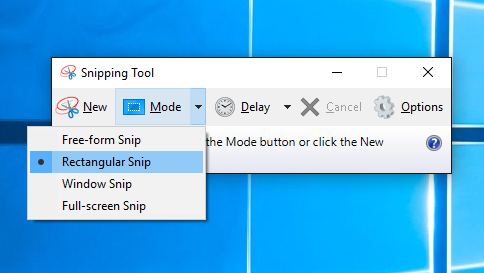
Legacy still exists. The snipping tool still exists in Windows 10 for now and still, you can take screenshots using that. This tool is most easy to use. Go to Star > All Programs > Windows Accessories > Snipping Tool. If you click the arrow next to the “New” button in the Snipping Tool, a drop-down box will appear, allowing you to change the snip type to the freeform, window or full screen. Click on "New" and start capturing screenshots. Drag the mouse to capture the required area on the screen and release the mouse key to generate the screenshot. Click on save to save the screenshot else if you exit the tool it will discard the screenshot.
3. Use your Graphics Card Software
Nvidia GPU owners with GeForce Experience enabled should be able to take a screenshot by hitting Alt + F1. For AMD GPU Owners can take screenshots using Ctrl + Shift + I. These hotkeys can be changes in respective GPU setting and in the Hotkeys section, they can be modified.

4. Window and PrtScrn Magic
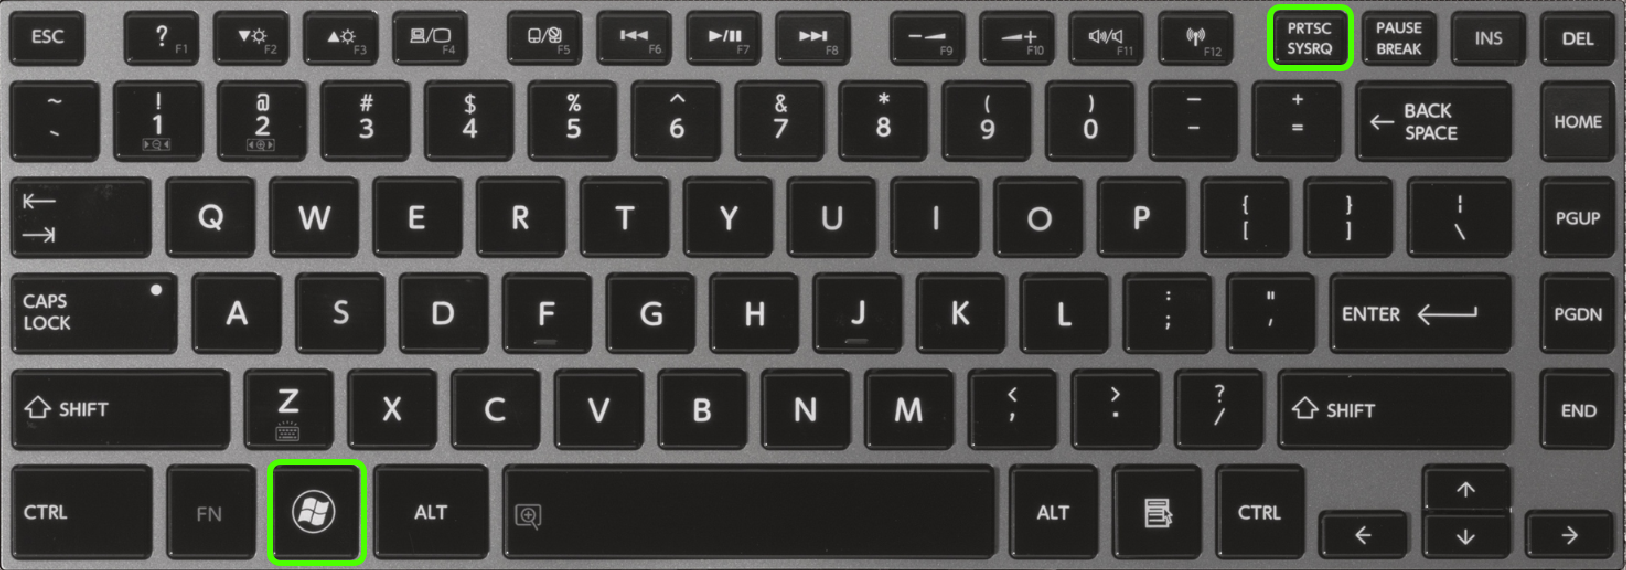
You can take screenshots of your entire screen by simply pressing the PrtScn (Print Screen) button along with Windows Key. On the laptop, you need to use the Function Fn key to trigger this action. This will cause your screen to dim momentarily, which also means that it has successfully taken a screenshot of your screen. The screenshot will appear in a folder aptly titled “Screenshots” inside your “Pictures” folder.
5. Take a screenshot of Only one window
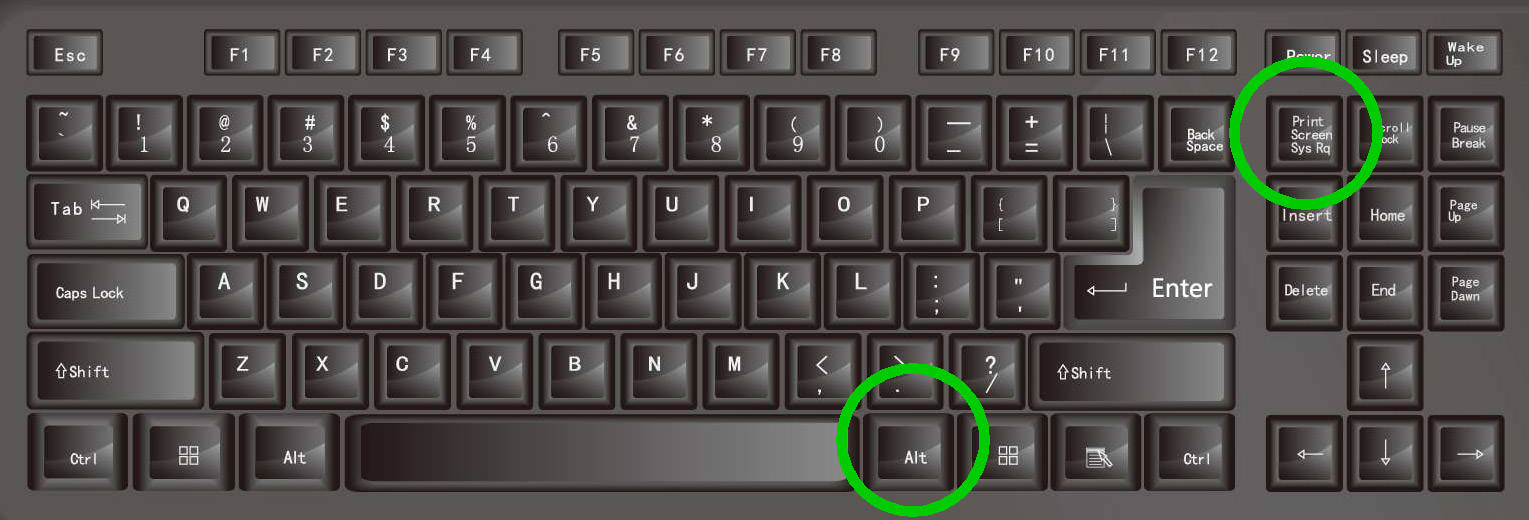
If you don't want to capture the whole screen but just a specific window you can do that by simply pressing Alt Key + PrtScn. This will capture the window currently in the user's focus and copy it to the clipboard. To edit or save that image, you will have to paste that image into the program and save it.
Related post


0 comments
Leave a reply
Please Login or Register to Comment. Get StartedShare this article